You’ve built something amazing locally that’s in Universal mode. Sawwweeet, but what now? How do you host it? Why is it when you search for Node.js hosting it’s super expensive? Well, screw that!

We are going to use DigitalOcean! Click that bad boy and get your little test for free (the credits last 60 days I think, or if you use them up before that, so you can do a lot of testing across different droplets if you choose to)
This is going to be straight to point, terminal commands you’ll use and what order to use them in.
This doesn’t include:
- setting up an SSL
- setting up a firewall
- explaining what SSH is
Let’s do this!
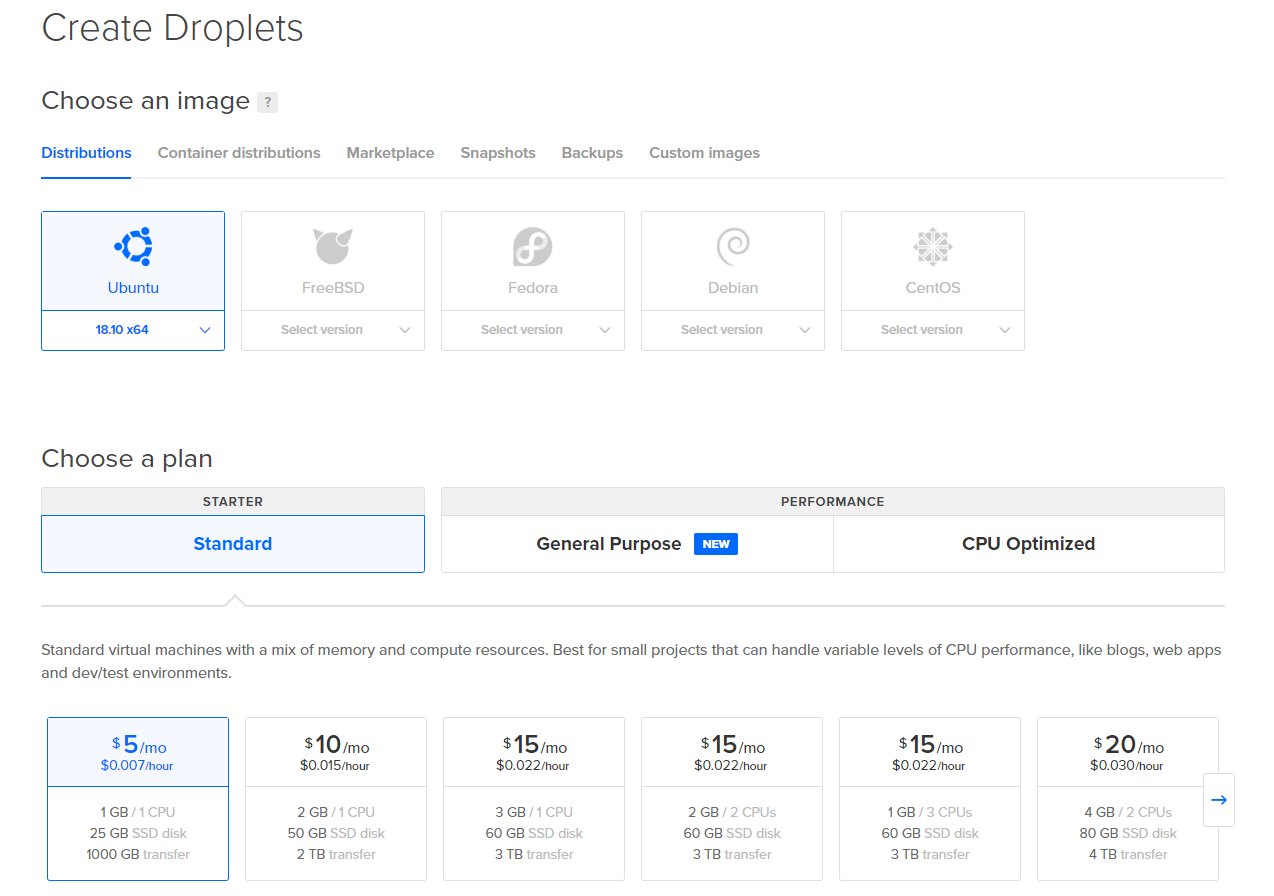
Time to create your first droplet!
- sign up for an account
- log in
- select the following
- Ubuntu 18.10 x64
- Standard Plan
- and the 1GB / 1CPU for $5
- set SSH key (RSA if you’re going to be uploading on save from something like VSCode)

Your droplet has been installed, time to configure it
- SSH into your droplet
- Update Packages list
-
sudo apt-get update
-
- Install Node.js & NPM
-
curl -sL https://deb.nodesource.com/setup_12.x -o nodesource_setup.sh ( you can change 8 to 10 if you want/know what you're doing, or change to a specific version you are using )
-
sudo bash nodesource_setup.sh
-
- Check your Node.js & NPM versions
-
node -v
-
npm -v
-
Set up your working project folder
- From your root, create your project directory
-
mkdir ./project
-
- Transfer your files to that folder (or just upload via FTP since you can access it through SSH)
-
scp -r /path/to/your/local/project/* your-user-name@<droplet-ip-here>:~/
project/
-
- Install pm2 globally
-
sudo npm install pm2 -g
-
Use Nginx as a proxy Server
In your terminal enter the following:
-
sudo apt-get install nginx
-
sudo nano /etc/nginx/sites-available/fancysquares.blog
(use your actual domain, and I assume you already added your domain to your droplet as well)
- add this to it:
server {
    listen 80;
    listen [::]:80;
    index index.html;
    server_name fancysquares.blog;

    location / {
        proxy_pass http://localhost:3000;
        proxy_http_version 1.1;
        proxy_set_header Upgrade $http_upgrade;
        proxy_set_header Connection 'upgrade';
        proxy_set_header Host $host;
        proxy_cache_bypass $http_upgrade;
    }
}
Once you save that then:
-
sudo rm /etc/nginx/sites-enabled/default
-
sudo ln -sf /etc/nginx/sites-available/fancysquares.blog
/etc/nginx/sites-enabled/fancysquares.blog
- Then let us restart Nginx
-
sudo nginx -t
-
sudo systemctl restart nginx
Fire up that project!
- from your root, cd into your project folder (or whatever you called it)
-
cd ./project
-
pm2 start <your-nuxt-project-name>
- BOOM DONE!
